

Step 01
Remove Grass
Remove 4-5 inches of your existing lawn or base. Proper drainage and leveling during turf base installation is essential. Clear roots, debris, and loose soil before rebuilding the base.
Step-by-step artificial grass installation guide. Learn how to install synthetic turf like a pro with our 7-step process.
7-step installation process
Follow the same practical installation flow shown on the source site: remove the old surface, build and compact the base, roll and cut the turf, secure the perimeter, spread infill, then brush the blades upright.
Installation Guide
Remove 4-5 inches of your existing lawn or base. Proper drainage and leveling during turf base installation is essential. Clear roots, debris, and loose soil before rebuilding the base.
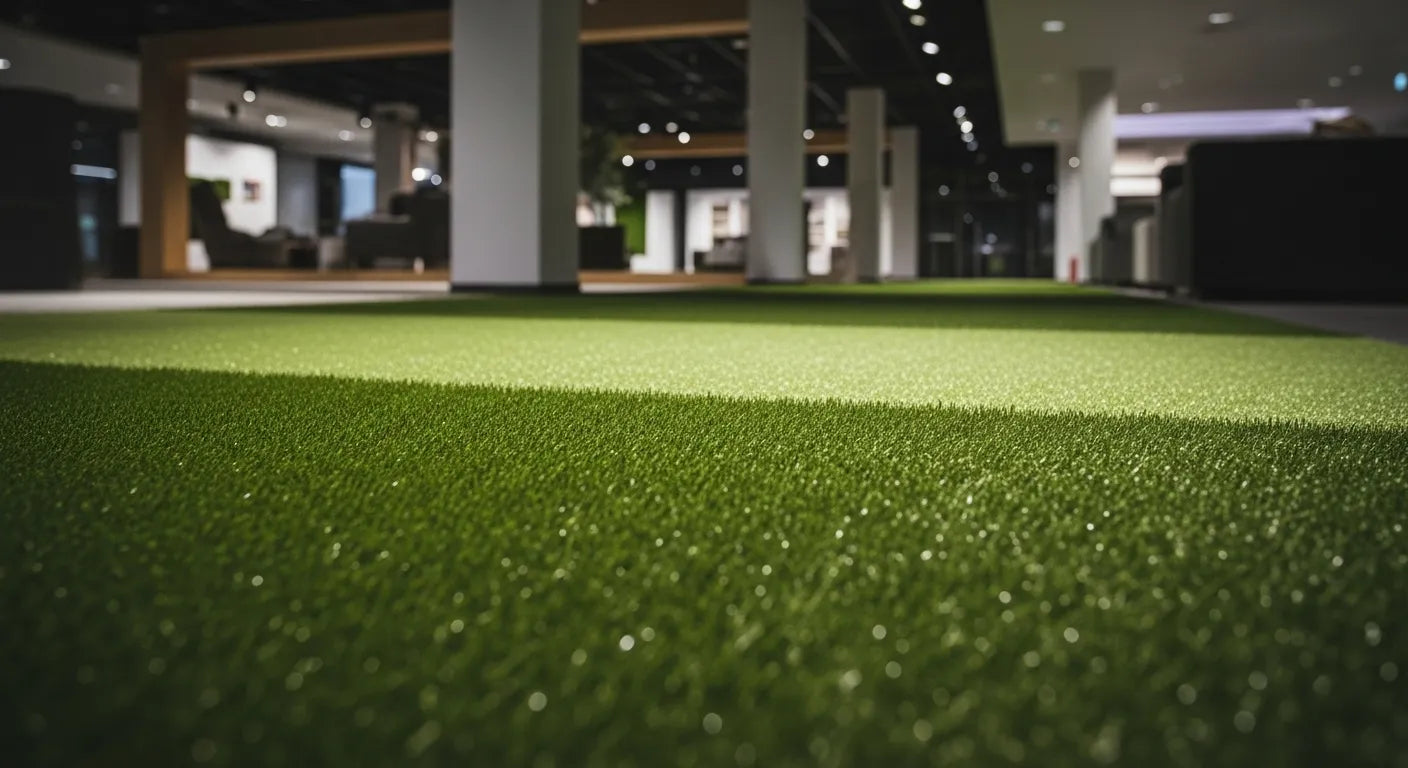
Evenly spread 3 inches of class II road base or similar material. Wet the base lightly and compact until you achieve a smooth, firm surface that drains properly.

Roll out your new artificial grass carefully. Let it sit in the sun for 30 minutes to an hour before cutting. If using multiple rolls, keep blade direction and stitch patterns facing the same way.

Use razor knives or carpet cutters and make cuts from the back of the turf so you can see the stitch rows. Leave 1/4 inch to 1/2 inch over the border for final tucking.
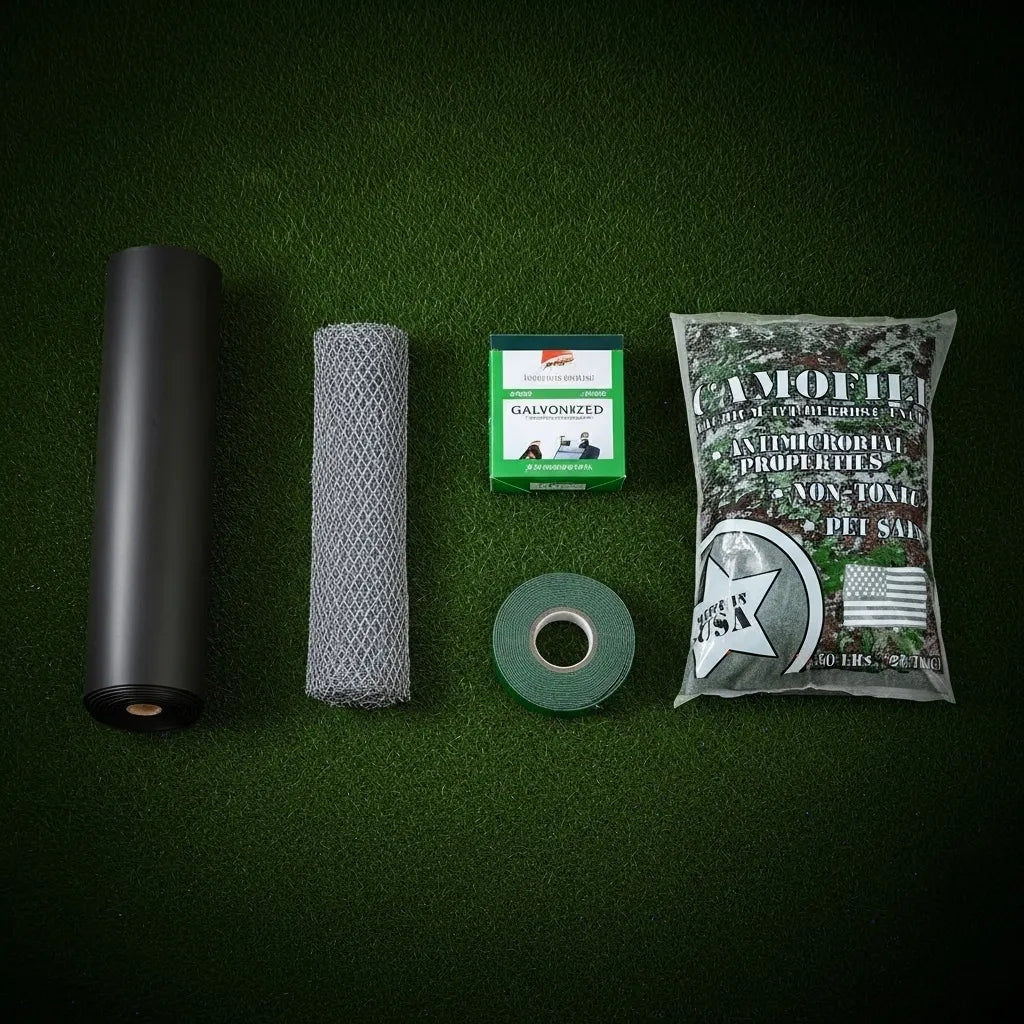
Tuck the turf edge into the border, then drive galvanized nails or D-spikes every 6-8 inches around the perimeter. Place nails on both sides of seams every 2 feet or less.
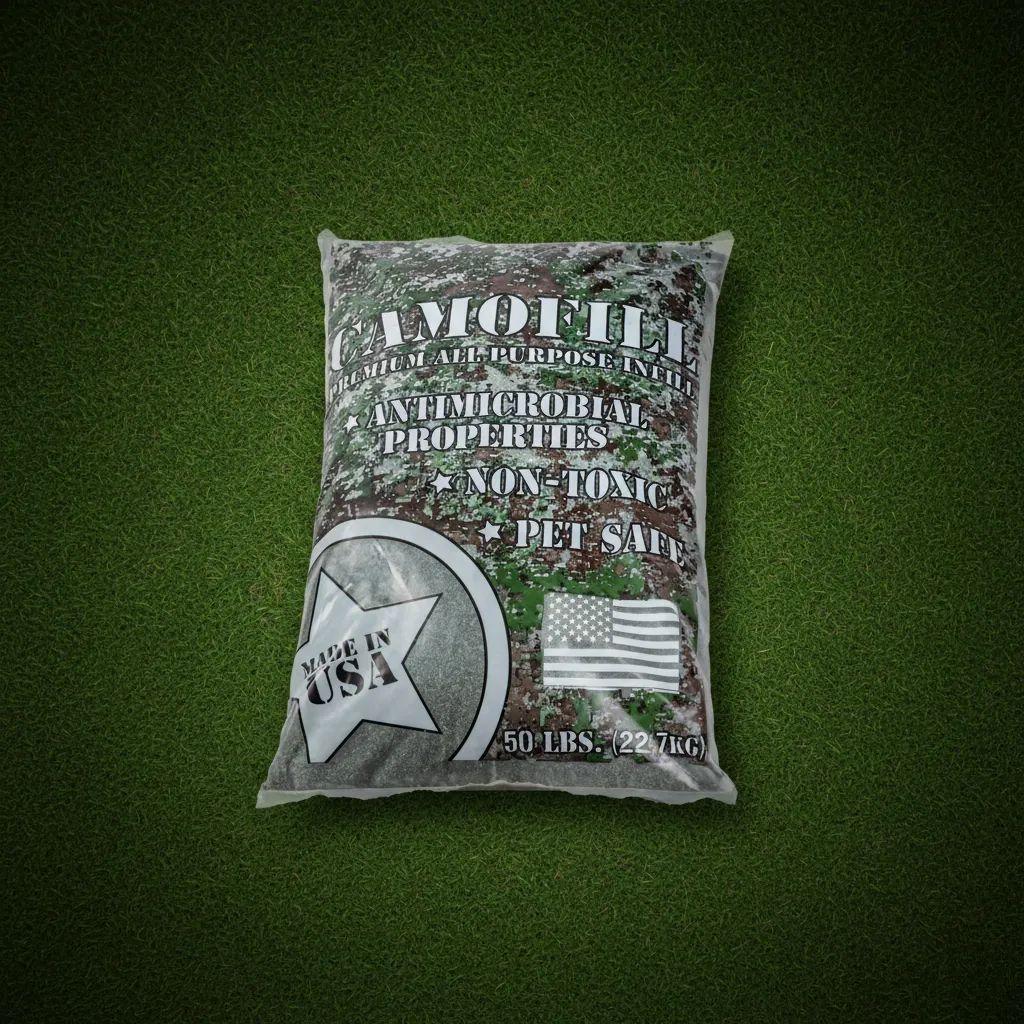
Use the recommended infill for your turf system. Silica, acrylic-coated sand, zeolite, silica sand, and crumb rubber are common options. Distribute evenly with a drop spreader or power broom.
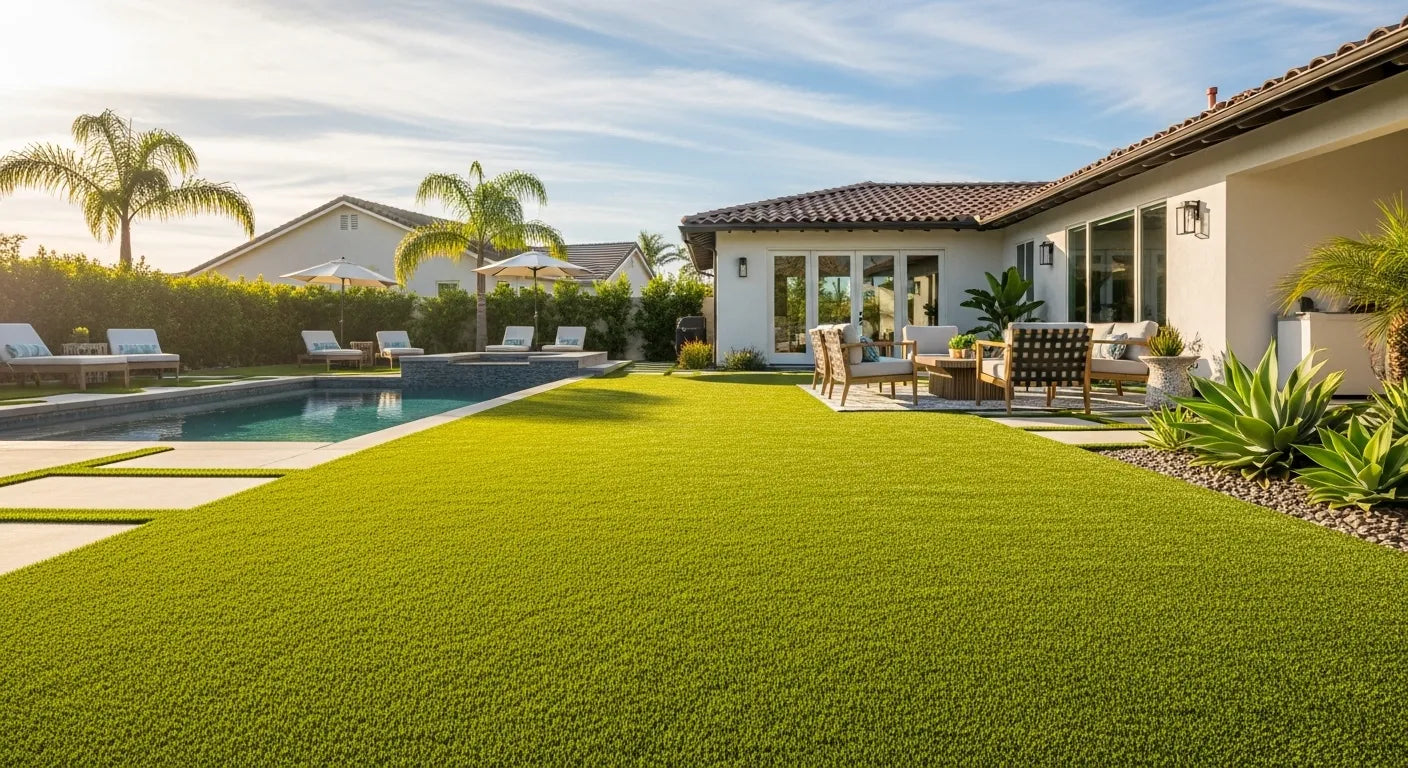
Brush against the grass blades with a power broom or stiff bristled broom. Repeat until the infill is even, seams disappear, and the fibers stand upright for a natural appearance.
Pro tips
Unroll the turf and let it warm up before cutting. This reduces wrinkles and helps the turf relax into the installation area.
Keep every roll facing the same direction. Mismatched blade direction is one of the fastest ways to create visible seams.
Flip the turf over and cut from the backing side. You get cleaner edges and can follow stitch rows accurately.
A firm, compacted base is critical. Make multiple passes with a plate compactor until footprints do not sink into the surface.
Use 6-8 inch spacing around the perimeter and tighter attention around seams. Under-nailing can lead to lifting edges.
After infill, brush against blade direction to lift the fibers upright and create a clean, freshly installed finish.
Shop premium artificial turf and get everything you need for a professional installation.